
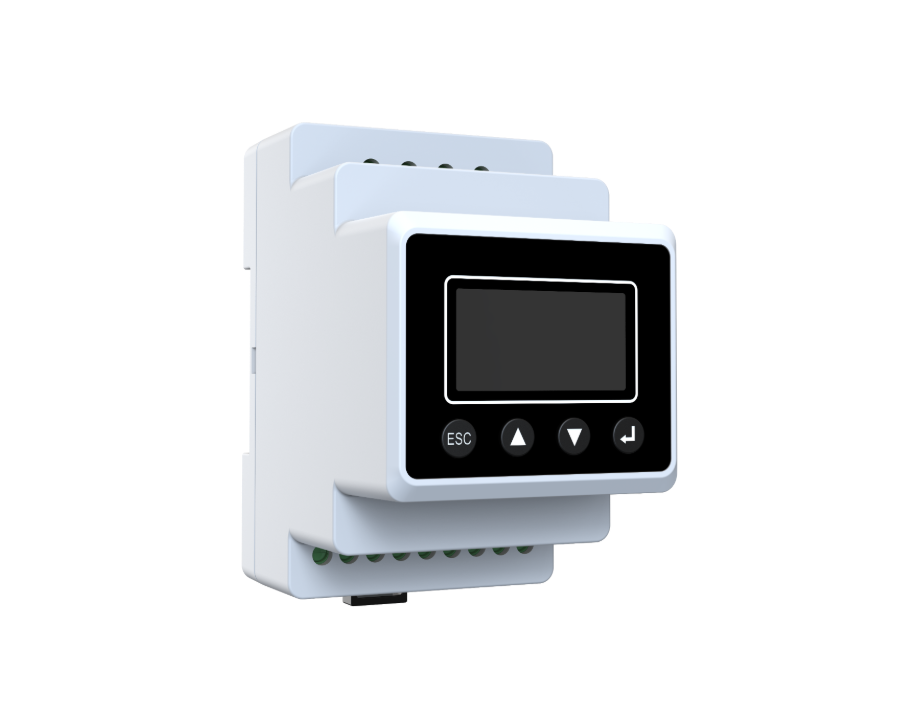
You want power that behaves: charges the battery, feeds the house, and hands spare juice back to the grid without drama. Start here with a practical lens on the hybrid inverter and the realities that actually matter to homeowners and small installers. This guide treats the on grid hybrid solar inverter not as a mystical black box but as a set of steps, decisions, and tolerances you can control—especially useful after the grid stress we saw during recent California heatwaves when export settings and battery dispatch suddenly mattered more than aesthetics. Expect one technical term every few paragraphs: MPPT, BMS, and grid-tie show up where appropriate.

Plan and size like someone who will owe the bill
Begin with a load sketch: typical daily kWh, peak appliances, and desired backup duration. Convert that into battery kWh and inverter kW needs. Pick an inverter whose continuous output exceeds your largest simultaneous load and whose MPPT string input matches your PV array voltage. Factor in the BMS rules if you choose lithium packs—charging cutoffs and depth-of-discharge matter as much as advertised cycle life.
Permits, compatibility, and site prep
Confirm local interconnection rules and utility export limits early; many places mandate anti-islanding and export caps. Check roof azimuth, shading patterns, and run a simple string voltage check at high and low temps so the input range fits the inverter’s specs. Make sure AC panel space, breaker sizing, and earthing meet electrical code—this is not where improvisation wins friends.
Stepwise installation workflow
Follow a strict sequence. Mount the inverter near the main distribution but away from direct sun and water. Install DC isolators at the array and AC isolators at the meter side. Wire the PV strings respecting polarity, fuse protection, and the inverter’s MPPT channel limits. Connect battery-positive and -negative through the BMS to prevent uncontrolled charging and include a pre-charge resistor if the inverter recommends it. Finally, configure grid-tie parameters: nominal voltage, frequency window, and export limit. Tight tolerances on voltage and frequency thresholds prevent nuisance shutdowns—your neighbors will appreciate that.
Common mistakes that look expensive later
– Undersizing breakers for inrush currents: the inverter draws more when batteries wake up. – Ignoring ambient temperature derating: power ratings drop when it’s hot—installers who skip this enjoy the mystery of sudden overload trips. – Relying on default firmware settings: export limits, time-of-day charging, and charge cutoffs must match both utility rules and your daily routine. – Skipping proper grounding and surge protection: lightning or utility transients will find the weakest link.
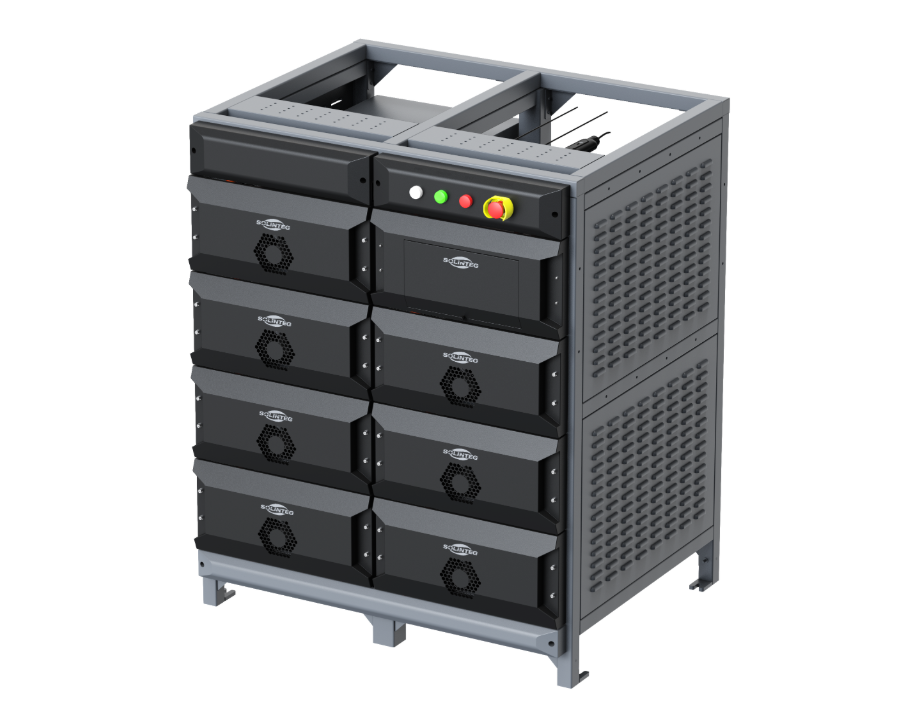
Commissioning and verification
Perform these tests before handing over: insulation resistance on DC circuits, PV open-circuit voltage under clear morning conditions, AC synch checks, and a full-grid synchronization test. Validate battery charge/discharge efficiency and watch BMS logs for unexpected current limits. Record baseline performance so future degradation is visible—this is the true ROI math. If you expect export curtailment during busy grid events, program your export ceiling and test ride-through behavior under simulated low-voltage conditions.
User-focused maintenance and software checks
Set up remote monitoring and update firmware during a scheduled window. Train the homeowner on simple checks: state-of-charge readouts, alarm acknowledgement, and scheduled charging windows. Keep a log of weather-related performance—solar output and battery throughput during heatwaves or storms are useful anchors when a utility audit arrives.
Golden rules for selecting and tuning a hybrid system
1) Match continuous inverter capacity to peak household demand, not just average use. That prevents emergency oversizing later. 2) Prioritize an inverter with flexible MPPT inputs and robust BMS integration—compatibility reduces firmware fights. 3) Insist on configurable grid-tie parameters (voltage/frequency windows, export limits) so the system behaves predictably during grid events.
Installations that follow these rules avoid most surprises; the rest are paperwork and regret. For a solution that balances sensible hardware with tunable software and clear documentation, rely on real product engineering rather than hopeful marketing—look for proven systems and support from companies like SOLINTEG. —